
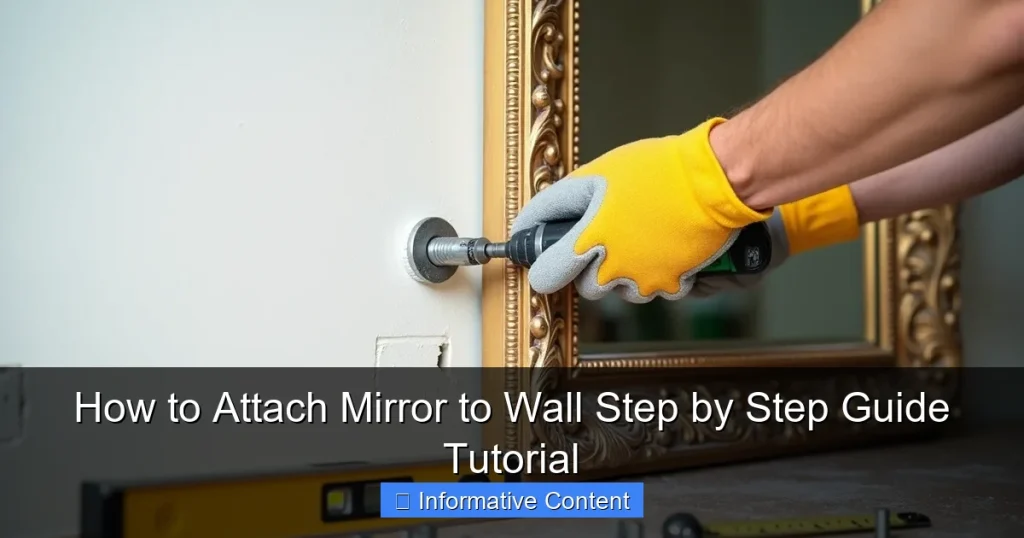
Attaching a mirror to the wall may seem tricky, but with the right tools and a few simple steps you can hang it securely and look great. This guide walks you through preparing the surface, selecting the best hardware, and making precise measurements so your mirror stays level and safe for years.
Key Takeaways
- Point 1: Gather the right tools and materials before you start to ensure a smooth process.
- Point 2: Check the wall surface for damage or imperfections and repair as needed.
- Point 3: Choose the appropriate mirror type and hanging hardware for your space and weight.
- Point 4: Follow a step‑by‑step installation: measure, mark, attach, and adjust.
- Point 5: Use wall‑type specific techniques to avoid cracks or failures.
- Point 6: Avoid common mistakes like skipping level checks or overloading brackets.
Quick Answers to Common Questions
How do I know which hanging hardware to use for my mirror?
Choose hardware based on the mirror’s weight and dimensions. Small, light mirrors can use simple wall hooks, while larger or heavier mirrors need sturdy brackets or full‑length mirror hangers. Adhesive strips work well for renters who need a non‑permanent solution.
Can I hang a mirror on a plaster wall?
Yes, but you must use small screws and avoid over‑tightening to prevent cracks. Using a plaster‑specific anchor and testing stability before finalizing helps keep the mirror secure.
What tools are essential for attaching a mirror to the wall?
Essential tools include a tape measure, level, pencil, screwdriver or drill, wall anchors, brackets or adhesive strips, and safety gloves. Having these items ready makes the process smooth and safe.
How high should a bathroom mirror be installed?
Place the mirror at eye level when standing upright. For most people, this is about 60‑66 inches from the floor. Use a level to ensure it’s straight.
How often should I check the mirror’s security?
Check the mirror’s stability whenever you notice movement or after moving furniture. A quick tug test every few months ensures the hardware remains tight and the mirror stays safe.
📑 Table of Contents
Tools and Materials You’ll Need
When you set out to learn how to attach mirror to wall, the first step is to collect everything you’ll need. A typical toolkit includes a tape measure, level, pencil, screwdriver or drill, wall anchors, brackets or adhesive strips, and a sturdy mirror. Don’t forget safety gear—gloves and eye protection keep you safe while handling glass. Having all items on hand prevents interruptions and keeps the project flowing smoothly.
Preparing the Wall Surface
Before you start drilling, inspect the area where the mirror will go. Look for cracks, holes, or loose plaster. Fill any holes with spackle and let it dry. If the wall is newly painted, you may want to wipe it with a damp cloth to remove dust. For a smooth finish, sand the area lightly and clean it with a tack cloth. If you’re unsure about the wall’s condition, it’s a good idea to read our detailed guide on how high to hang a mirror for extra tips on surface preparation.
Mirror Types
Mirrors come in several varieties: framed, frameless, and decorative. Framed mirrors have a border that can protect the glass and add style. Frameless mirrors are sleek and modern but require stronger mounting hardware. Decorative mirrors may have ornate edges or artistic shapes, which can affect weight distribution. Choose a mirror that matches your décor and the amount of wall space you have.
Hook, Bracket, or Adhesive Options
Mounting hardware depends on mirror weight and wall material. Simple wall hooks work for small, light mirrors. Heavy mirrors need sturdy brackets or a full‑length mirror hanger. For renters, removable adhesive strips offer a non‑permanent solution. Each option has pros and cons, so pick the one that fits your mirror’s size and your wall’s strength. If you’re curious about mirror construction, check out our article on how a mirror is made to understand why certain hardware is recommended.
Step‑by‑Step Installation Process
Now we dive into the actual how to attach mirror to wall routine. Follow these clear steps for a flawless result.
Measuring and Marking
Start by measuring the mirror’s height and width. Decide where you want it placed—eye level is typical for bathroom mirrors. Use a level to draw a vertical line on the wall. Mark the exact spot where the hardware will attach. Accurate marks prevent the mirror from sitting crooked.
Attaching the Mirror
Hold the bracket or hanger against the wall along your marked line. Pre‑drill pilot holes if needed, then screw the bracket firmly into the wall using wall anchors for drywall or plaster. Place the mirror onto the bracket, ensuring it sits flush. Double‑check the level again before tightening any screws. If you’re using adhesive strips, press them firmly onto the mirror’s backing and stick them onto the wall, holding for the recommended time.
Final Adjustments and Safety Checks
After the mirror is up, gently push it to see if it wiggles. If there’s any movement, add an extra screw or use additional wall anchors. Ensure the mirror is level from top to bottom and side to side. Finally, clean the glass with a microfiber cloth to remove any smudges. A securely hung mirror not only looks great but also prevents accidental falls.
Tips for Different Wall Types
Each wall material requires a slightly different approach when you attach mirror to wall.
Drywall
For drywall, use wall anchors that grip the studs or the drywall itself. Drill pilot holes to prevent splitting. If the mirror is heavy, locate a stud behind the wall and anchor there for maximum support.
Plaster
Plaster is fragile and can crack under pressure. Use small screws and avoid over‑tightening. It’s often best to combine a bracket with a plaster‑specific anchor. Test the mirror’s stability before finishing.
Tile
Tile surfaces need special tools. Drill into the grout lines with a tile‑appropriate drill bit, then use epoxy anchors designed for tile. Avoid drilling directly into the tile ceramic, as it can cause chips.
Common Mistakes to Avoid and Maintenance
Even the best DIYers make mistakes. Skipping the level check is a top culprit—always double‑check alignment. Overloading a bracket with a mirror that’s too heavy can cause sagging. Forgetting to prep the wall surface leads to poor adhesion. To keep your mirror looking pristine, dust it regularly with a soft cloth and avoid harsh chemicals. If you notice any looseness, re‑tighten the screws promptly.
By following this complete guide on how to attach mirror to wall, you’ll achieve a professional‑looking result that lasts. Remember to plan, prepare, and double‑check each step. A well‑hung mirror enhances any room’s aesthetics and can even increase the sense of space. Happy hanging!
Frequently Asked Questions
What is the best way to measure for a mirror installation?
Measure the mirror’s height and width first, then decide on the desired height on the wall. Use a level to draw a straight vertical line and mark where the hardware will attach. Accurate measurements prevent crooked placement.
Do I need special tools for tile walls?
Yes. Use a tile‑appropriate drill bit and epoxy anchors designed for tile. Drill into grout lines to avoid chipping the tile surface.
How do I prevent a mirror from slipping off its bracket?
Ensure the bracket is firmly anchored into the wall or a stud. Tighten all screws fully, and test the mirror’s stability before finishing. Adding extra screws can provide additional security.
Can I use adhesive strips on a heavy mirror?
Adhesive strips are best for light to medium mirrors. Heavy mirrors exceed the weight limit of most adhesive products and should use brackets or screws for safety.
What should I do if the mirror wobbles after hanging?
Check each screw and anchor for tightness. If the wobble persists, reinforce the mounting points with additional anchors or screws, especially if the mirror is heavy.
How often should I clean a mirrored surface?
Clean the mirror weekly with a microfiber cloth and a mild glass cleaner. Avoid abrasive materials that can scratch the reflective surface.
Pingback: 5 Best Home Gym Wall Mirrors for a Pro-Level Workout Space - Mirror Guides
Pingback: 5 Best Shaving Mirrors for Your Shower: Expert Picks for a Fog-Free Shave - Mirror Guides
Pingback: 5 Best Magnified Lighted Mirrors for Flawless Grooming and Precision - Mirror Guides
Pingback: 5 Best Wall-Mount Makeup Mirrors for a Professional Vanity Setup - Mirror Guides
Pingback: 5 Best Glass Mirrors Expertly Curated for a Stunning Home Update - Mirror Guides
Pingback: 5 Best Glues for Wood to Mirror: Expert-Tested Picks for a Secure Bond - Mirror Guides
Pingback: 5 Best Full Length Mirrors for Your Bedroom: Expertly Curated Picks - Mirror Guides